Nilead CMS lets you manage dynamic content on your website with precision and flexibility. Whether you're editing blog posts, directories, or product listings, this tutorial shows you how to get started with structured content using Extensions and the Visual Editor. No coding required — unless you want to.
A Nilead account with CMS access
Website created or connected to your Nilead dashboard
User role with permission to manage content
Optional: API key for using AI features (e.g., content generation)
Your website content on Nilead falls into two main categories:
Static Content: Pages like About, Services, or Home, which are individually created and edited.
Dynamic Content: Repeated structures like blog posts, products, team members, events. Managed through the CMS using “Extensions.”. For more information regarding Extension, please check our guide for Getting started with Extension.
👉 For an overview of both types, see the Updating Website Content guide.
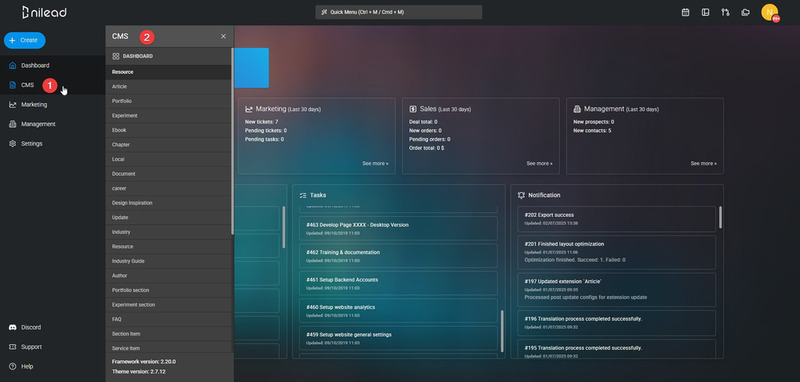
From your Nilead Admin Panel, go to the sidebar and click CMS.
You’ll see a list of Extensions – these are your content types (e.g., Blog Posts, Testimonials, Services).
Each Extension acts like a database for structured content entries.
If your content type already exists:
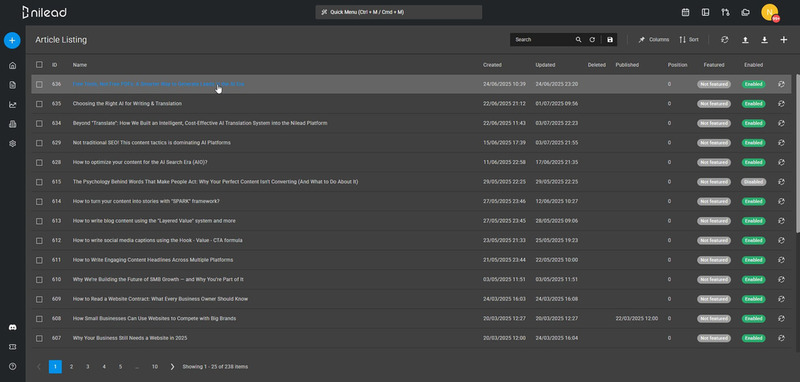
Click on the Extension (e.g., “Blog Posts”).
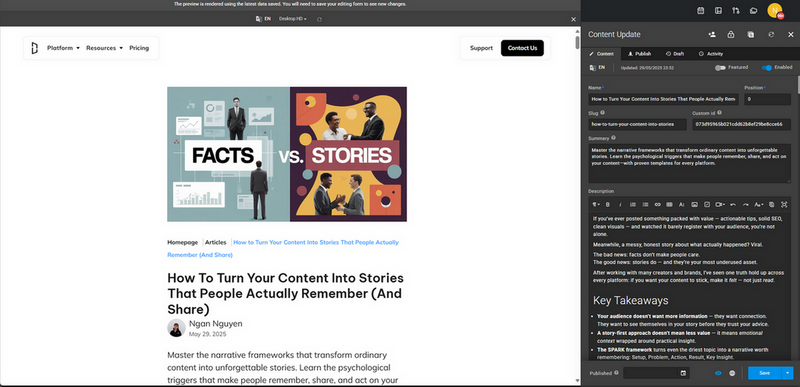
You'll see a list of entries. Click an item to update or the "Add New" icon on the top right corner to create.
To create a new content type:
Go to Settings → Extension from the left sidebar.
Click the "Add New" icon button on the top right corner.
Fill in:
Extension Name (e.g., "Events")
Path (used in URLs and data identifiers)
Add Fields:
Text, Number, Image, Boolean, Reference (relationship to another extension), etc.
Choose Private or Public:
Private: No front-end pages are generated by default.
Public: Pages will be auto-created if layout is defined.
💡 Tip: Extensions are ideal for team sections, real estate listings, menus, portfolios — anywhere structured data is reused.
🔗 See Manage your extension for a full walkthrough.
Once an Extension is set up:
Click the Extension to open its content list.
Use the Add New button to create a new entry.
Fill out the form fields (you defined earlier) and hit Save.
You can also:
Filter, Search, or Bulk Edit entries.
Tag entries or set publish status.
You can map Extensions to your site using:
The Visual Editor: Drag-and-drop interface lets you bind CMS content to page elements.
Template Layouts: Developers can use Twig to loop through entries.
🔗 See Getting Started with Visual Editor for a full walkthrough.
If you have connected your own OpenAI or DeepSeek API key:
Use the AI Assist button within any content field.
Generate text for blog posts, product descriptions, meta tags, etc.
Refine or regenerate as needed.
AI integration helps reduce time and maintain quality.
Extensions can be nested using Reference fields (e.g., “Author” inside “Blog Post”).
Use Permissions to limit who can edit specific Extensions.
For multilingual sites, Extensions support language variants.
Preview your dynamic content on staging before publishing live.
1. What's the difference between Extension and Collection?
“Extension” is Nilead’s term for structured content types — similar to "collections" in other CMS platforms.
2. Can I customize how dynamic content displays on the frontend?
Yes, via Visual Editor or by editing your layout templates with Twig.
3. Do I need a developer to use the CMS?
No. Most users can manage content and layouts visually. Developers are only needed for advanced layouts.
4. Can I import data into an Extension?
Yes. Nilead supports CSV import/export for Extensions.
5. Is the CMS available on all plans?
Yes, but advanced features like AI Assist and multi-language support may depend on your plan tier.