Document Getting started with Nilead Visual Editor

Getting started with Nilead Visual Editor

Learn how to use Nilead's Visual Editor to build and edit layouts and content without touching code.

Table of content

TL;DR / Overview

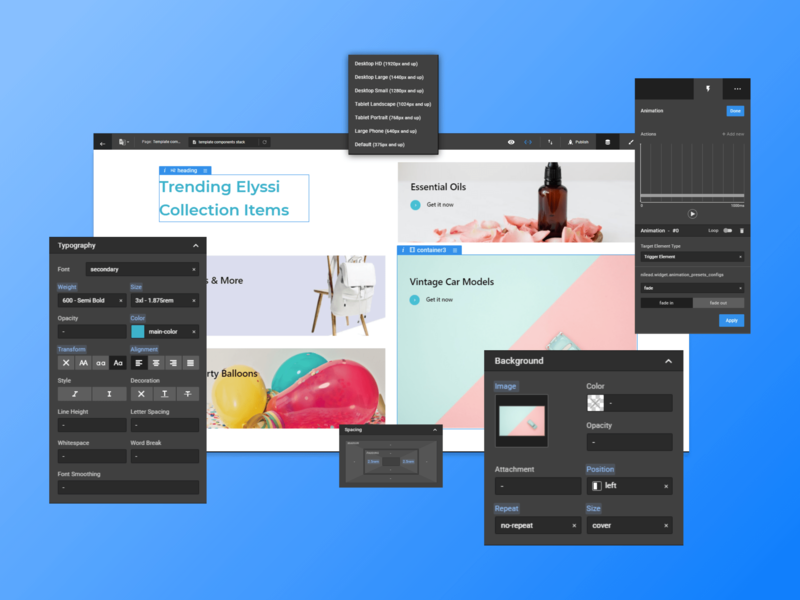
The Visual Editor in Nilead allows you to build, update, and manage your website visually—no coding required. You can click to edit text, rearrange widgets, and configure layout elements directly on the page. To make the most of this tool, it’s helpful to understand how Nilead uses themes, pages, styles, layouts, and widgets.

best website builder

Prerequisites

  • Active Nilead account with website access

  • At least one page created in your site structure

  • Basic understanding of page layout and widgets

  • Appropriate user role/permissions to access the Visual Editor

Walkthrough

Understand the Building Blocks

Before using the Visual Editor, it’s essential to understand Nilead's structure:

Theme

Themes are layout/view containers for entire applications. They're used internally and don’t require setup by users.

Page

Each website consists of one or more pages: Home, Contact, Blog, etc. Pages can be:

  • Static – manually updated content

  • Dynamic – automatically populated via Collections (e.g., blog posts or product listings)

Style

Global style settings (fonts, colors, spacing) ensure consistent branding. You can update a style once and apply it across all layouts.

Layout

Each page needs a layout to display content. Layouts are the editable canvas where you’ll use the Visual Editor.

Widget

Widgets are the building blocks of layouts. They can be simple (a button) or advanced (image slider component). Widgets can be added, moved, or removed as needed.

🧩 Widgets are grouped into components for reuse. For example, a pricing section or testimonial slider can be saved and reused across pages.

Launching the Visual Editor

To open the Visual Editor:

  1. On the top right corner in your Nilead Dashboard, click the "Visual Editor" button

    visual editor icon
  2. On the left sidebar, click on the page menu you want to edit.

  3. Click the Preview button.

  4. The Visual Editor interface will load.

📺 We recommend watching our overview video to get familiar with the interface.

Navigating the Visual Editor

Once inside the editor:

  • Hover and click any element on the page to open its widget configuration.

  • Use the Sidebar to:

    • Add new widgets or components

    • Browse reusable elements

    • Apply a style

  • Click Save or Publish after changes.

Common Actions

Edit Text Content

Click any text widget, update the content in the configuration panel.

Change Images

Select the image widget → Upload a new image or choose from the media library.

Add a Section

Click “+ Add Widget” → Choose a layout block or component → Add it into position.

Apply a Style

Open the layout settings → Choose an existing style or create a new one → Apply.


FAQs

  1. Do I need coding skills to use the Visual Editor?
    No. The Visual Editor is designed to be fully visual and user-friendly. However, advanced users can edit templates via Twig files if desired.

  2. Can I use the same layout for multiple pages?
    Yes. You can reuse and clone layouts across different pages for consistency and faster setup.

  3. What’s the difference between a widget and a component?
    A widget is a single element (like a button). A component is a group of widgets pre-styled and configured for reuse.

  4. What happens if I break a layout?
    You can restore previous versions or revert changes before publishing. If needed, contact support for help.

  5. Can I edit dynamic content with the Visual Editor?
    Yes, but the editor shows placeholder data. Use the editor to configure how each data item will appear.

Discord chat

We're available Monday–Friday, security and critical bug fixes are available 24/7.

Facebook page

Get the latest news and updates regarding Nilead platform and services.